文章目录是 WordPress 文章的必要组成部分,尤其是带有许多标题的长文章。创建目录有助于读者轻松快速地遵循和掌握想法。此外,它还可以帮助您在文章中添加更多关键字,这对 SEO 非常有利。
创建文章目录的方法
有两种方法可以在 WordPress 文章中创建目录。
第一种方法是使用插件。这对 WordPress 的代码专家和新手来说都是简单、快速且免费的。
第二个是使用代码。这样您可以自定义目录,即使是最小的细节,但对于非编码人员来说却非常复杂。我们将在这篇文章中写下创建目录的代码,只需复制并粘贴它!

使用插件创建目录的过程本文不再赘述,百度一大堆;本文主要针对B2主题的纯代码方法
第1步 :为文章创建目录
打开主题functions.php文件或者在网站后台转到外观>主题>编辑器>functions.php。
然后,将以下代码添加到functions.php文件中。
function create_mg($html) {
    $mg = '';
    if (is_single()) {
        if (!$html) return $html;
        $dom = new DOMDocument();
        libxml_use_internal_errors(true);
        $dom->loadHTML(mb_convert_encoding($html, 'HTML-ENTITIES', 'UTF-8'));
        libxml_clear_errors();
        $mg = '<div class="mg-bound"><div class="mg-bound__hover-block"><i class="b2font b2-file-list-2-line"></i><p>目录</p></div><ul class="mg-bound__popover">';//向目录添加标题并将其显示在此之上。您可以将文本“目录”替换为您希望在标题中出现的任何内容。
        $h2_status = 0;
        $h3_status = 0;
        $i = 1;
        foreach($dom->getElementsByTagName('*') as $element) {
            if($element->tagName == 'h2') {
                if($h3_status){
                    $mg .= '</ul>';
                    $h3_status = 0;
                    }
                 if($h2_status){
                    $mg .= '</li>';
                    $h2_status = 0;
                  }
                  $h2_status = 1;
                  $mg .= '<li><a href="' . get_the_permalink() . '#mg-' . $i . '">' . $element->textContent . '</a>';//单击后立即创建指向文章中相应部分的跳转链接。
                  $element->setAttribute('id', 'mg-' . $i);
                  $i++;
            }elseif($element->tagName == 'h3') {
                if(!$h3_status){
                    $mg .= '<ul class="mg-sub">';
                    $h3_status = 1;
                }
                $mg .= '<li><a href="' . get_the_permalink() . '#mg-' . $i . '">' . $element->textContent . '</a></li>';
                $element->setAttribute('id', 'mg-' . $i);
                $i++;
            }
        }
        if($h3_status){
            $mg .= '</ul>';
        }
        if($h2_status){
            $mg .= '</li>';
        }
        $mg .= '</ul></div>';
        $html = $dom->saveHTML();
    }
    return $mg . $html;//在目录中的每个标题前添加项目符号。
}
add_filter('the_content', 'create_mg');
注意:此代码仅将 2 个标题级别 h2、h3添加到目录中。
不要忘记单击更新/保存文件。
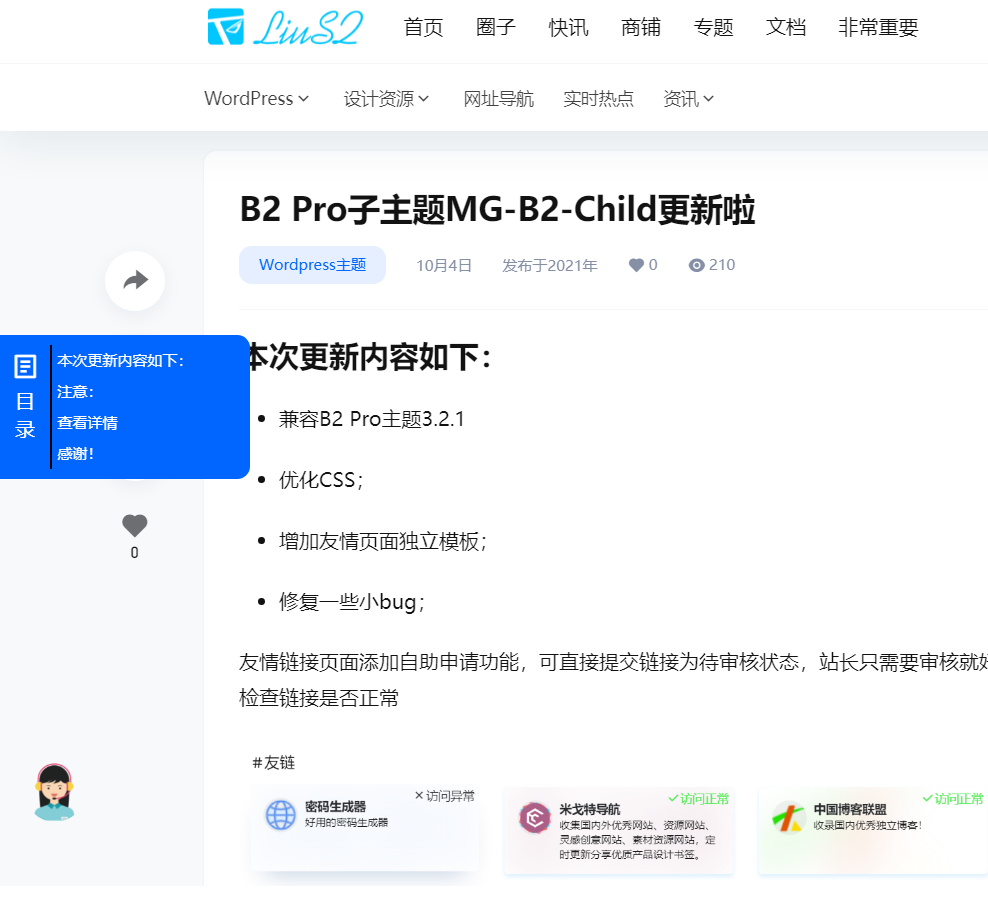
结果如下:

当然,我们需要稍微设计一下。
通过CSS定制,访问主题编辑器的style.css文件。在那里,您需要插入您自己编写的代码以根据需要自定义。
比如我想自定义目录的颜色和强度,所以插入如下代码:
.mg-bound {
    height: 108px;
    box-shadow: 0 2px 8px rgb(0 0 0 / 10%);
    color: #fff;
    position: fixed;
    left: 0;
    font-size: 14px;
    text-align: center;
    z-index: 999999;
}
.mg-bound__hover-block{
    border: none !important;
    position: absolute !important;
    left: 0;
    z-index: 100;
    padding: 0 !important;
    width: 40px;
    height: 108px;
    border-top-right-radius: 4px;
    border-bottom-right-radius: 4px;
    color: #fff;
    background-color: #0066ff;
}
.mg-bound__hover-block i{
    margin-top: 10px;
    display: block;
    font-size: 22px;
}
.mg-bound__hover-block p{
    width: 28px;
    margin-left: 6px;
    font-size: 16px;
    text-align: center;
}
.mg-bound__popover{
    position: absolute !important;
    left: 0;
    top: 0;
    width: 200px !important;
    min-height: 108px !important;
    padding: 8px !important;
    padding-left: 40px !important;
    border-top-right-radius: 10px;
    border-bottom-right-radius: 10px;
    overflow: hidden;
    border-bottom: none !important;
    transform: translateX(-200px);
    -ms-transform: translateX(-200px);
    -webkit-transform: translateX(-200px);
    transition: all .3s;
    background-color: #0066ff;
    text-align: left;
    font-size: 12px;
}
.mg-bound__popover li {
    border-left: 2px solid #000;
    padding: 4px;
}
.mg-bound:hover .mg-bound__popover{
    display: block;
    transform: translateX(0);
    -ms-transform: translateX(0);
    -webkit-transform: translateX(0);
    transition: all .3s;
}
总之,使用插件和编码都为我们提供了相同的漂亮目录。只要您满意,您可以选择任何方式。
最后说一句
如您所见,在 WordPress 文章中创建目录并不复杂。按照我们的教程,您将拥有漂亮的目录。一个好的目录让你的文章更清晰、更专业。因此,您的观众在阅读您的博客时可能会有更友好的体验。
本教程原则上适用于所有主题
本站所有文章,如无特殊说明或标注,均为本站原创发布。
任何个人或组织,在未征得本站同意时,禁止复制、盗用、采集、发布本站内容到任何网站、书籍等各类媒体平台。
如若本站内容侵犯了原著者的合法权益,可联系我们进行处理。


谢谢大佬分享,奇它博客站长送上